Matt Cutts announced at the 2011 SMX Advanced conference Google’s plan to attribute content to original authors. This allows sites to publicly link within their site from content to author pages. The author page describes and identifies the author and it can include a bio, photo, and additional links or articles.
The deepening of data for author/content relationships and giving value to their quality in the index, give Google another potential ranking factor to use in determining the PageRank of a content page.
If you are a webmaster for a site that uses authored content, you’ll want to follow the guide to Google Authorship Markup in their Help Center. This markup uses HTML5 (rel=”author”) and XFN (rel=”me”) to enable search engines and other web services to identify works by the same author across the web. Google states if you use microdata from schema.org they will interpret that authorship information as well.
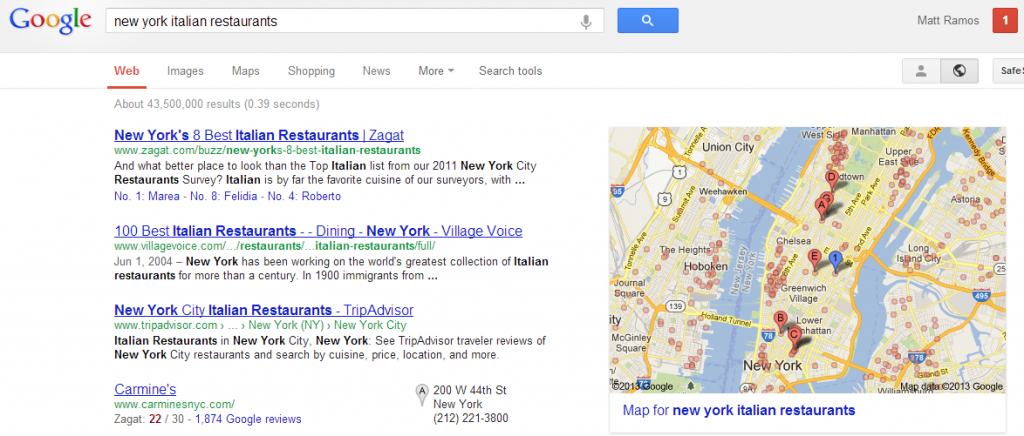
With authorship markup, you use your Google Profile as a digital identity. The profile will link out to your online content and create links back to you profile from the content. The quality of older content will affect your author reputation ranking. And your author reputation ranking will affect the ranking of your published content including future posts. The annotation will look like this example for a SEO-related search.

The Authorship Process
There are three ways to verify content using a 3-link, a 2-link, or an email method.
– 3-Link Method – The 3-link method is used with sites published pages that link to an author biography on the same domain. The method has three points: content pages, which link to biography page, which links to the author’s Google+ profile.
– 2-Link Method – The 2-link method is for content pages that include a mini author biography snippet at the bottom of the post. The snippet then links to the author’s Google+ profile, which is linked to the author’s content page.
– Email Verification Method – When the author does not have control over author biography content anywhere in the content page, they can use this method. The author byline links to an email address using the same domain name as the content page, and that email address is registered and verified in the author’s Google+ profile. For example on your Google+ profile page your work email is author@abc.com and the author’s content page on www.abc.com by “Author Name” is linked to author@abc.com.
Setup Your Published Content Pages for Authorship Markup
How you will configure your Google+ profile, depends on which method you choose to register your content pages using the 3-link, 2-link, or email verification methods. It depends on where your content was published. You may use several methods if you publish content on multiple sites.
Single-author blogs and sites
If you publish on a site with content from a single author, add a link to your Google Profile on every page, like this:
<a rel=”author” href=”https://profiles.google.com/1234564ETC.”>About Google+</a>
rel=”author” tells Google that you are the creator of the site.
Once you link your Google Profile from your website, add your website URL to the Links section of your Google Profile. If you are using WordPress, check out these links here and here for more tips to include your link.
 Multiple-author blogs and sites
When publishing content from multiple authors, you want to identify the author of each individual piece of content. Google checks for connections between content page, author page, and Google Profile. Google looks for two things to confirm authorship: links from the content page to author page & a path of links back from your Google Profile to your content. The reciprocal links prove that you are the creator of the content.
Content pages
Any of the following, Google will recognize as the author of an article by the rel=”author” link.
An author page on the same domain as the content page:
• Written by <a rel=”author” href=”../authors/stevejobs”>Steve Jobs</a>
• A Google Profile: Written by <a rel=”author” href=”https://profiles.google.com/109412257237874561202″>Steve Jobs</a>
Author pages – Linking multiple author pages
When an author produces multiple articles that appear on multiple sites, they still need to represent the same person. For Google to verify the link,s use a rel=”me” link between profile pages.
Say that Steve is a frequent contributor to http://jobs.example.com. Here’s a link from his http://example.com author page to the page he maintains on http://stevejobs.com:
<a rel=”me” href=”http://stevejobs.com”>Read more about Steve</a>
In turn, Steve’s profile on http://stevejobs.com points back to his author page on http://jobs.example.com, like this:
Steve has also written <a rel=”me” href=”http://jobs.example.com/contributors/stevejobs”>lots of articles for the Jobs</a>.
The reciprocal rel=”me” links tell Google that the profiles at http://stevejobs.com and http://example.com/contributors/stevejobs represent the same person.
For a detailed walk through using authorship markup with content pages, author pages, and Google+ Profiles click here.
Image: FreeDigitalPhotos.net


One thought on “Guide to Google Authorship Markup”